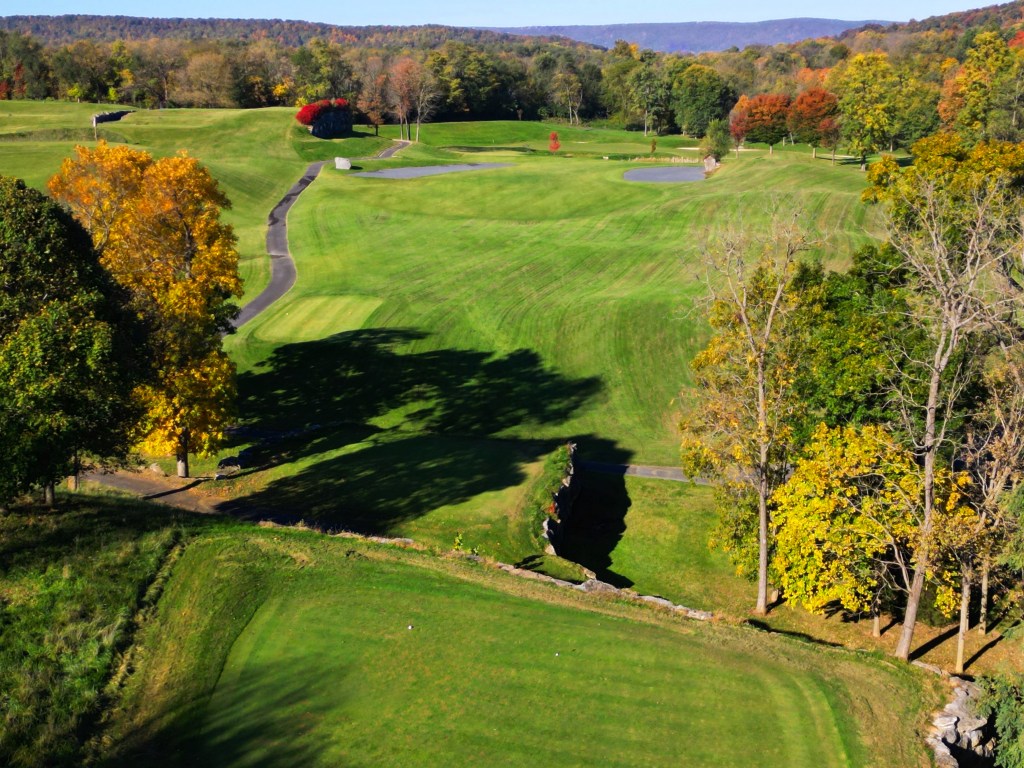
We think you will find the Boulder course to be fun and challenging all at the same time. The course is a par 72 which has the unique combination of 6 par 3’s, 6 par 4’s, and 6 par 5’s. The tee box on Boulder 8 is the high point on the entire property and offers views of the Shenandoah Valley available nowhere else in the area. Multiple greens on several holes, exciting elevation changes, and multi-tiered greens are the features you will notice most while on the Boulder. We hope you enjoy the beauty and challenge it has to offer.
Boulder Course Virtual Tour
Boulder Score Card
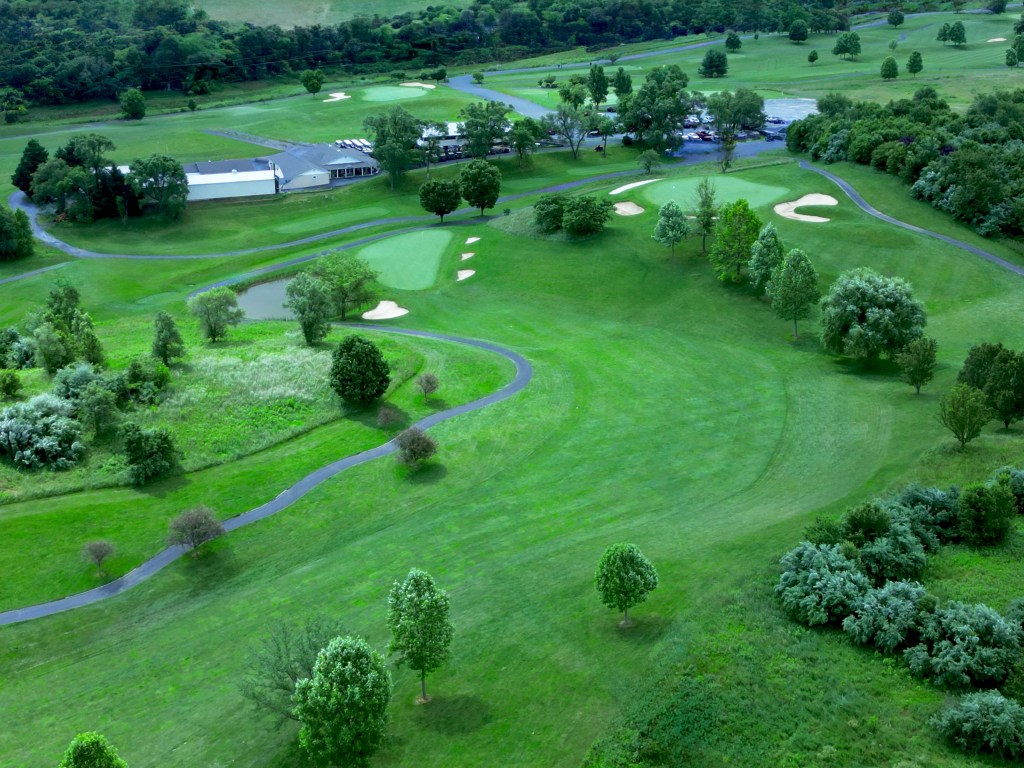
Boulder 1 – Par 4
The opening hole on the Boulder is the perfect warm-up for the challenges ahead. Running straightway from tee to green this short par 4 is bordered by knolls on the left that serve as the boundary for the 1st hole of The Rock Course. As you approach the green, an elevated tee box and rock formation of an adjacent hole protrudes from the right side along the cart path. Bunkers on the right and left rear of this receptive green follow the warm-up theme providing an easy escape should you find yourself in one. There is a mound that runs from the right side through the center of this green. If the day’s pin position is back right, the mound will come into play.
Boulder – Par 3
Voted one of Lexus, Top 10 Toughest Par 3’s in Virginia, this one could ruin a scorecard. Get out of here with a 3 or even 4 and you’ll think you’ve stolen something. The “elephant in the room” is buried beneath this green. This lengthy, uphill par three is well guarded in the front with a deep sand bunker which contains the front edge of the rock “elephant”. Escape from this bunker requires a blast shot straight up of about 11 feet. The green is also guarded by two bunkers in the back which require a superior touch to get back to a green that runs away from the shot. The huge rock formation under this green splits it in the middle front to back. So being on the same side of the green as the pin is important for any chance at par. Bring your “A GAME” to this hole.

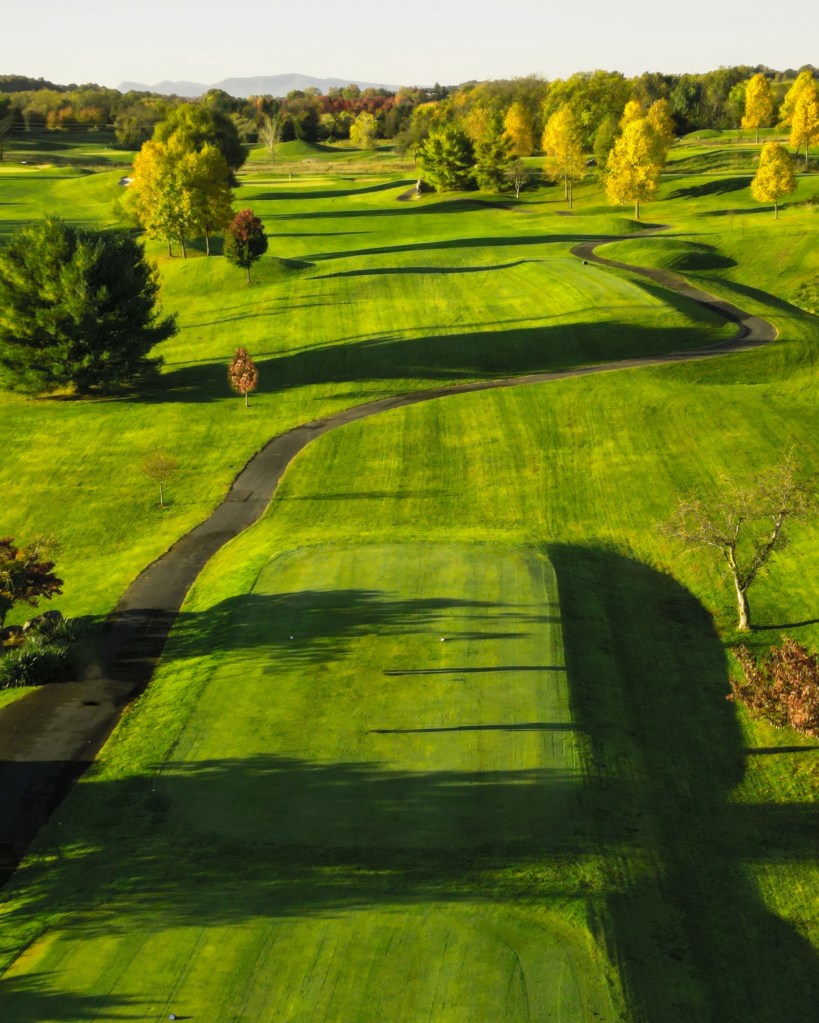
Boulder – Par 4
This relatively short dogleg par 4 is as level at its going to get for a while, so be aggressive here. The tee shot over a gully to a fairway guarded by a fifty-yard waste area, running along the right and capped by a greenside bunker. You can see the dog leg and the trouble on the right, so bite off as much of this as you think you can manage. The fairway, 80 yards and in, is designed to give a favorable left to right roll toward the green. This hole is a drivable par 4 when the forward tees are played. The less risky play would be to hit to the center of the fairway, aiming just to the left of the big boulder. The green has steep embankments at its right and rear.

Boulder 4 – Par 5
In comparison to the other holes on the course, this is a “short” par 5, that can be a scoring opportunity for your round. Playing the hole down the left side sets the hole up as a typical 3-shot par 5. The tee box lines up straight away and favors the alternate route. If you choose the route on the right, you can shave off 100 yards, but your second shot will have to traverse a waste area strewn with huge boulders and bordered by trees, a true risk/reward decision. Multi-tiered and undulating, this is the time to check the book for slope direction and pin location prior to hitting your approach shot.

Boulder 5 – Par 3
The par 3 5th is a beautiful downhill hole guarded on all sides with bunkers. The downhill tee shot depending on wind may require a little less club. The pot bunker in the back is 15 feet deep and rivals the kind of shot you might find at St. Andrews. If you can, spare yourself that thrill! There is a run-up lane for front pin locations. There is a plateau on the back left of this green that can be used as a cushion to move the ball left to right for middle and right-side pin locations.

Boulder 6 – Par 5
At 715 yards from the back tees this quite possibly may be the longest par 5 you will ever encounter. A unique feature of Boulder 6 is the use of two different greens separated by a bunker that looks like an octopus. The pin position of the day determines which green is being played and needs to be considered on the tee to determine how you may want to play the hole. There are two distinct paths to these greens. Both can be reached with the typical 3 shot approach around the left of the island of trees in the middle of this fairway. If the pin location is on the front green the risk reward down the right side is the play you may want to make. A shot down the right side is designed to hit a slope that will add distance to your tee shot while funneling it to the proper location for your next shot. Something down the middle from the tee may make either path difficult. Once the green is in sight go for it, both are flat and true.

Boulder 7 – Par 4
Boulder 7, one of the shorter par 4’s on the course, also makes use of 2 unique greens separated by a small patch of fringe. The severe dog leg left demands a tee shot that will allow for an open shot to the green. If the pin is on the front lower green, position “A” for your tee shot is land your ball at the bend in the dog leg on the left side of the fairway. If the pin is on the back upper green, your tee shot should favor the right side of the fairway and left of the rock wall. The approach to the green complex is guarded by a “tree island”. A shot to the center of this fairway demands a high shot over the trees for a chance at birdie. Don’t be long here or your shot may hit the rock wall in the back of the green at which point all bets are off!

Boulder – Par 3
Boulder 8 tee box is the high point on the Rock Harbor property. Take a moment to enjoy the view where you can literally see for miles and miles. To the left of the tee, you will be able to peer down into the Stuart M. Perry quarry that was the source of all the huge boulders you see located on every hole on both courses. Meanwhile, back at Boulder 8…. This is the longest par 3 we have to offer here at Rock Harbor. The tee shot will obviously be affected by the elevation change but there is usually a breeze up there that will play with ball flight during its time in the air. Pay attention to your club selection! The green is guarded on the right, left and back by bunkers. The hole slopes from back to front, and there is a bit of a run up area on the front approach.
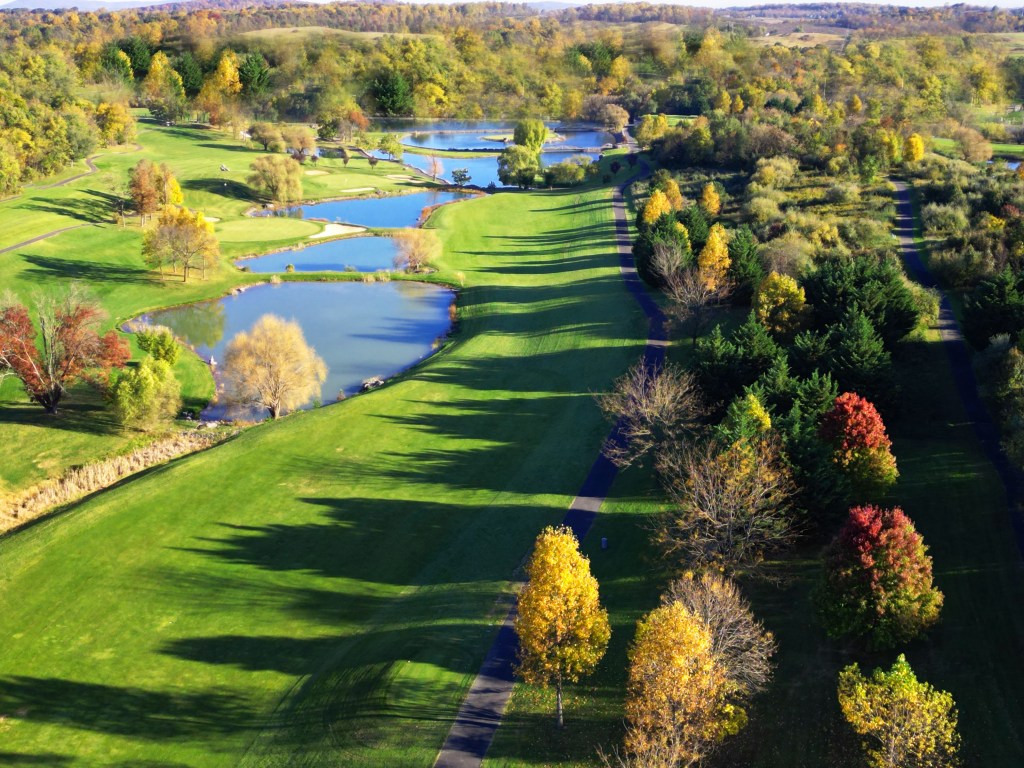
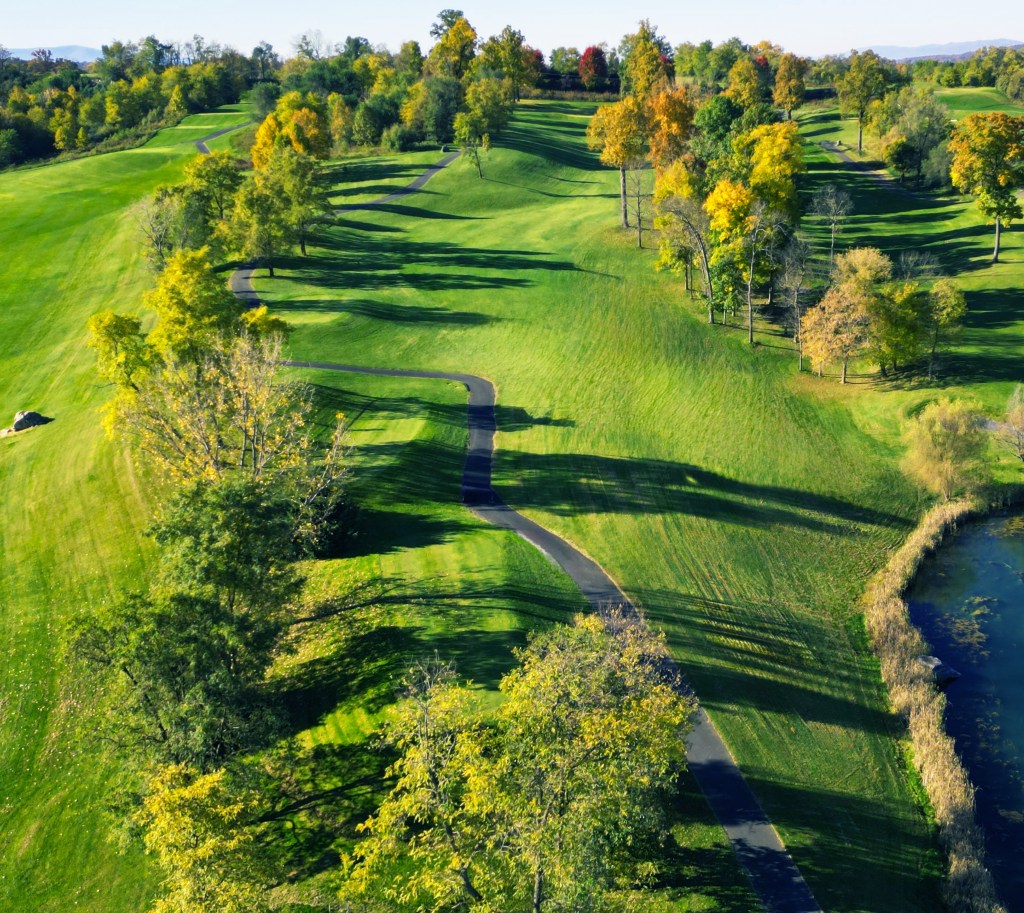
Boulder 9 – Par 5
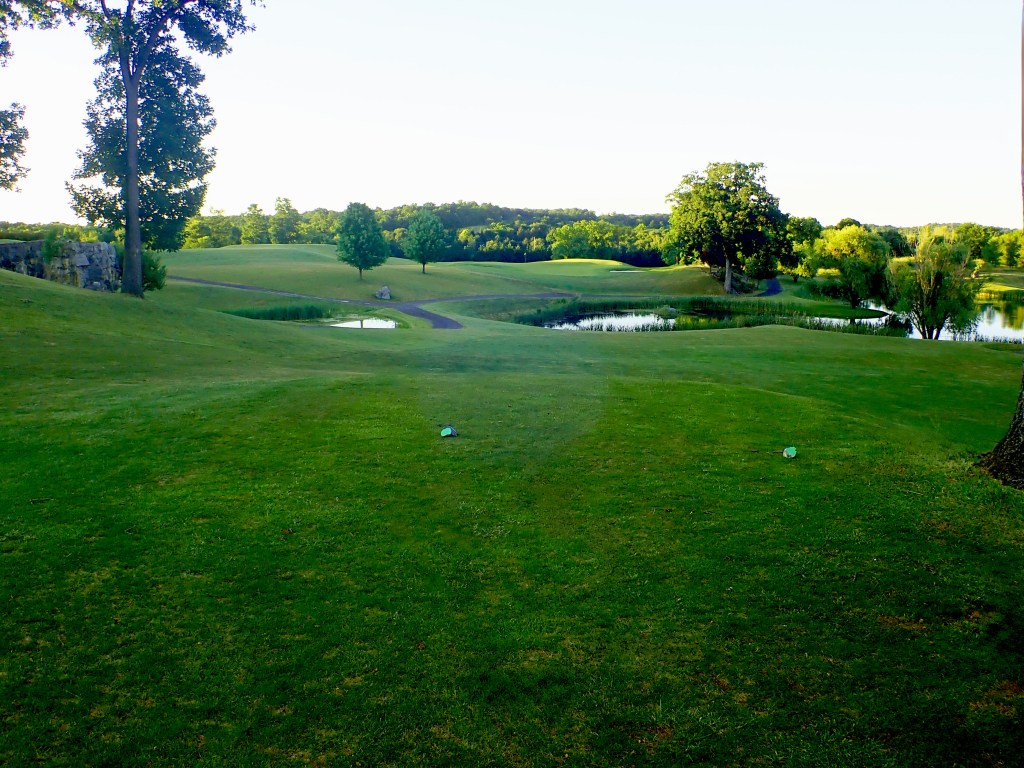
The Boulder risk/reward theme is obvious standing on the tee box at number 9! A 693-yard par 5 features 2 routes to the green. The conventional path is down the left side which features a grove of trees in the center of the fairway. Hit your tee shot over the crest of the hill and it may roll to the bottom where the chance to reach the green in two exists. The tee shot to the right of the trees will funnel a shot to the bottom of the hill for a much shorter shot to the green. The catch is this route is narrow and anything but the center cut will leave your approach blocked by trees. Neither approach is without hazard, there is water on the left and green side bunkers surround the two-tiered putting surface.

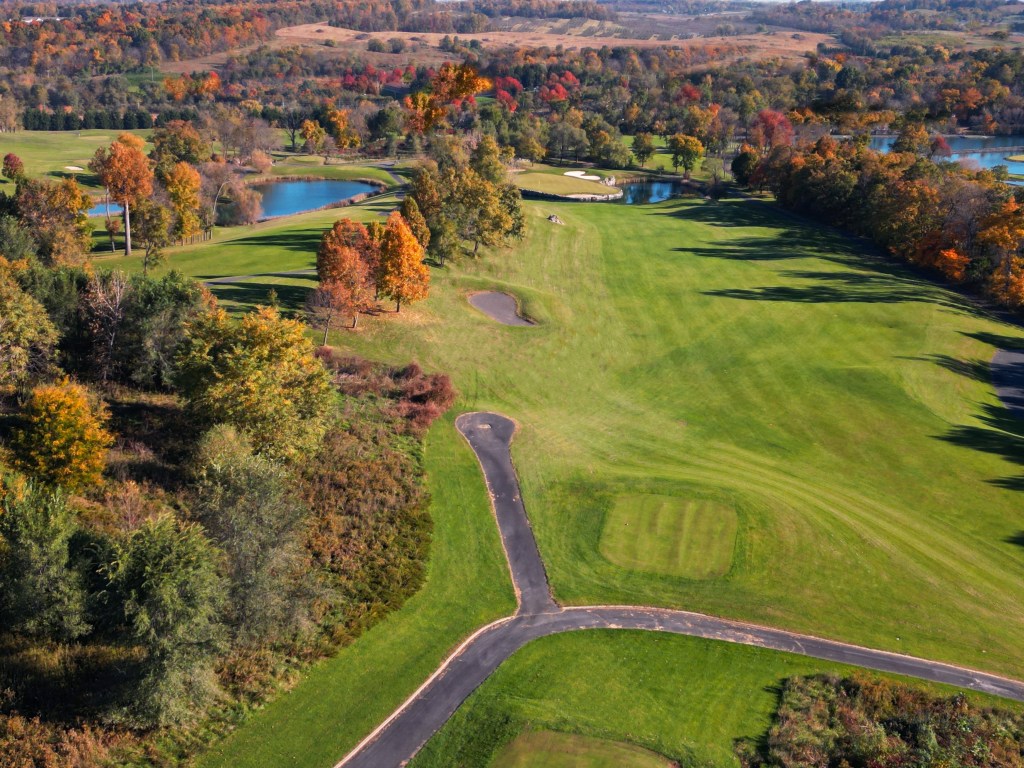
Boulder 10 – Par 5
Boulder 10 is a beautiful hole, but is one of the most difficult to tame on the course. It is the longest par 5 on the back side and will take even the longest hitters 3 shots to reach the green. On the tee you will need to control your distance and anything to the left most likely will find a water hazard the runs the length of the left side. The fairway narrows at the middle of the hole so if you are long, you better be straight. Trees, rough, and a hill guard the right side of the fairway. Target your next shot to the middle of the fairway about 30 yards short of the cart path where it crosses the bridge. Left you are in the water and right you will have a severe downhill lie for your next shot over the hazard. If you get here in good shape, you have a chance for a rare birdie as the green is wide open and welcoming. Boggie, not bad. Par is something to be proud of. Birdie is a memory for the ages.
Boulder 11 – Par 3
The shortest par 3 on the property plays over a small pond. A mid-size green is shaded by trees on either side with a stadium-like hillside of rock ledges surrounding the left and rear. The green is protected by two sand bunkers, one is carved into the hillside on the left and one that hugs the length of the green on the right. This hole should be an easy par but taking it for granted has left its mark on many a scorecard.
Boulder 12 – Par 4
Boulder 12, a par 4, that begins a series of undulating greens that will demand a lot out of your putter. A wide fairway that narrows in the tee-shot landing area, flanked on either side by large waste bunkers that feature some signature “boulders”. An elongated two-tiered green is part of a much larger green complex (35,000 sq ft) that joins the Rock 13 green. A bunker with a tree in the middle and a water hazard featuring a waterfall guard the right side of this green. On the left there is a small shallow green-side bunker and a steep hillside. Miss this green and you will have the opportunity to test your short game. The green has 2 tiers with a ridge that run front to back, so depending on pin location your approach shot here is crucial for any chance at 3.
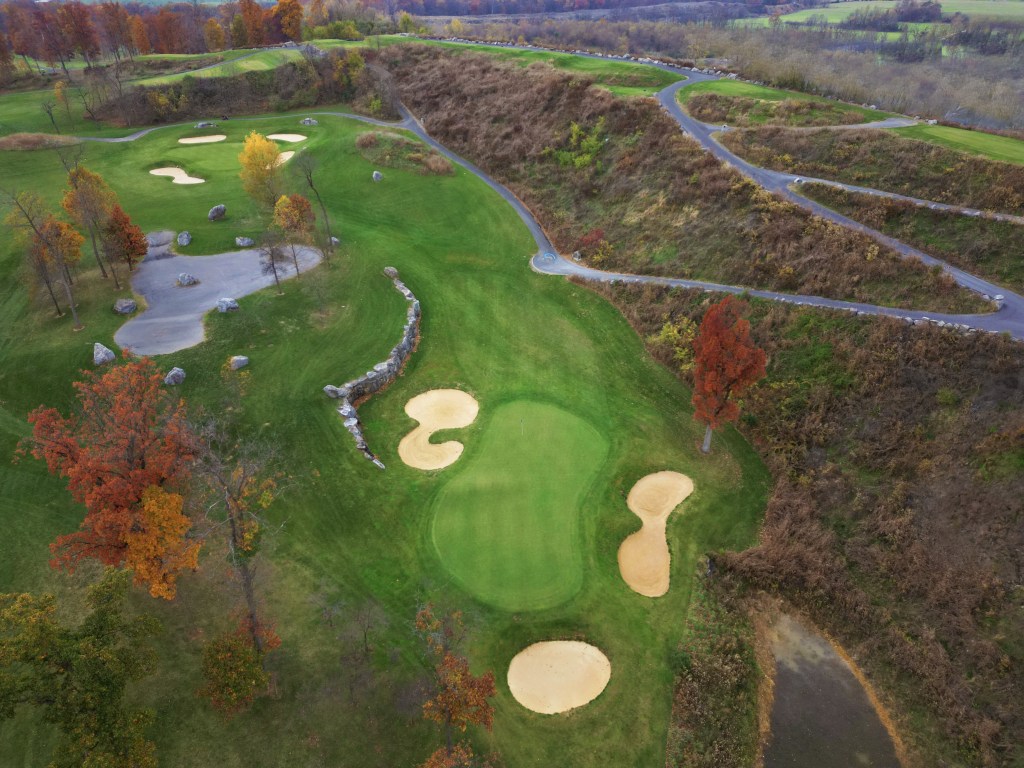
Boulder 13 – Par 3
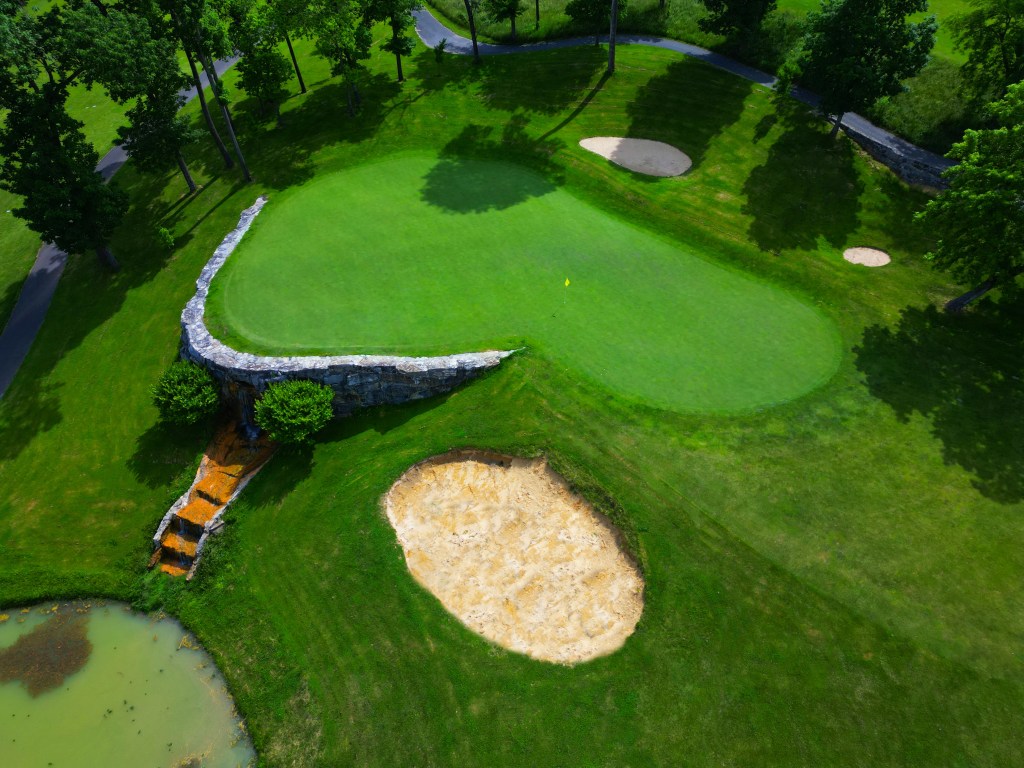
If you thought the contours you faced on #12 were challenging… you ain’t seen nothing yet! This medium-length par 3, locally known as the “Castle Green,” is a formidable test and will require a precise tee shot. Peaceful, picturesque, beautiful with a waterfall exiting from the middle of the “castle wall” belies what awaits on the green. With a steep drop off over the wall on the left, water and a 14-foot-deep bunker in the front and a steep hill that wraps the green on the right and back, the castle green is well guarded. This green generally slopes from back to front, so be careful with your ball spin, too much and you will be in the water or the deep front bunker. With multiple sets of tees your shot angle will most likely change from round to round making Boulder 13 a unique adventure each time you play.
Boulder 14 – Par 4
Boulder 14, a par 4, offers a scenic view back across the course as the fairway slopes downward to a water hazard about 100 yards shy of the green. Severe sloping midway, where a large tree splits the fairway, creates a roll forward. You will need to consider that forward roll when selecting the club for your tee shot. Target the right side of the tree for a landing area that is safer for your approach shot. A shot down the left side may find that pond back on 13, yikes! Hoping your putter is still hot, here we go again with an undulating 2 tiered green. The rear level is a narrower ridge. Pins placed on this level will be challenging. A putt traveling offline could drop off the rear of the green, continue down a steep embankment and into an awaiting bunker some 10 feet below the putting surface. If the pin is in the front birdie is in play. If it is in the back take par and run!
Boulder 15 – Par 4
Probably a par 5 on any other course, this par 4 will test your ability to shape a shot. The hole plays long and uphill all the way and presents an opportunity to show off your shot-making skills from tee to green. Tall mounding on the left side of the fairway sometimes will usher a shot back to the fairway. But too far left will find deep rough, trees and a side-hill lie that will make finding the green on your next shot difficult at best. The right side is dotted with trees that separate it from Boulder 14. The green is a large (wait for it…) multi-tiered, undulating surface fronted by a deep sand bunker as well as a shallower bunker to the right. A grassy knoll at both the left and rear can assist in stopping screamers hit from the fairway. This hole is ranked as the 2nd most difficult on the course and it surely deserves it. If there is a big number out there, here is where you might find it.
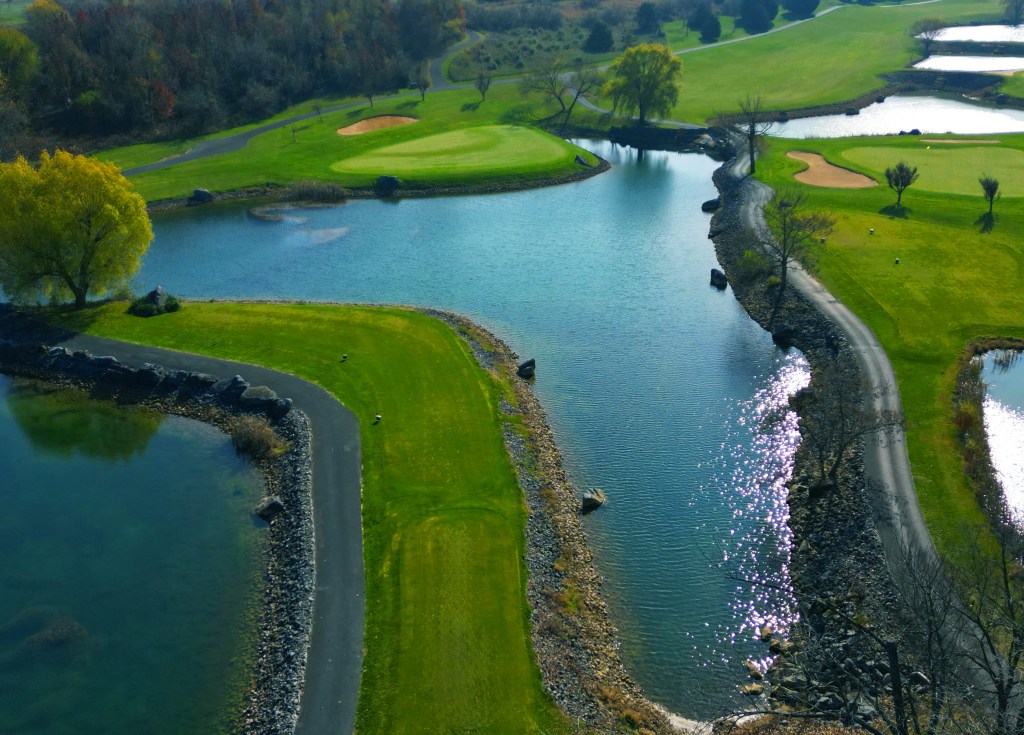
Boulder 16 – Par 5
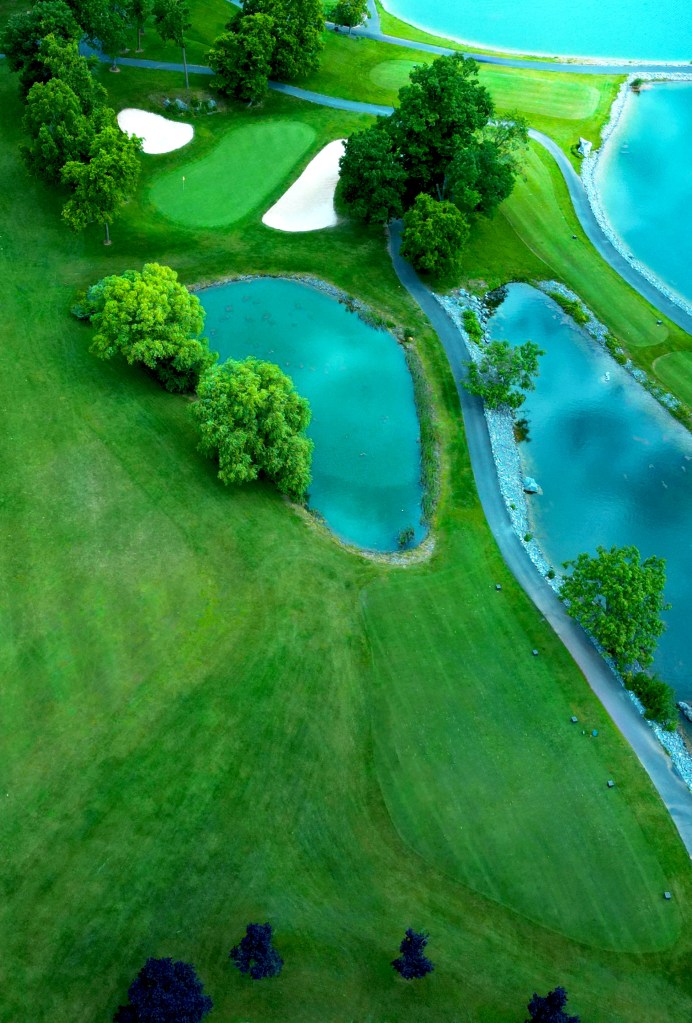
If there ever was a place to tee it high and let it fly, this is it. From an elevated tee the hole before you is spectacular to behold. The fairway is huge and seemingly impossible to miss, yet many will. A good drive could put you in a position to test your mettle, should you choose to go for it in two. The peninsula green is large, multi-tiered, rolling (are you noticing a theme here), and well-guarded by a pond in front. To complete the test there are four sand bunkers, one on each side. The green is huge and simply dares you to go for it. Will you?
Boulder 17 – Par 3
This hole is a medium-length par 3 with a carry over water that wraps around a two-level green. A semi-circle tier toward the left rear of the putting surface with a bunker dug into a hillside backdrop. Sand shots from this bunker may pose a challenge with the green tilting back toward the pond. A back right pin position can be tricky and going for this pin could be a disaster if you are a bit right. If the location is in the front, attack the pin there is a chance for birdie here.
Boulder 18 – Par 5
Boulder 18 is a dog leg left par 5 and is a shot-makers hole. The fairway is clearly defined between hills on either side. First shot in the middle should land around the 200 yard marker. Adventurous “big” hitters may wish to cut the corner and go for two here. The prudent play is over the corner of the dog leg to a landing area in the middle of the fairway affording a short shot for your chance at birdie. The pin is guarded on the left by a small pond and a deep bunker and on the right by a series of 3 pot bunkers cut into the hill that runs the length of the green. Played well this hole offers the opportunity to close your round with birdie.